How to Fix a Leaking Bathtub: A Comprehensive Guide

A leaking bathtub can cause a lot of inconvenience and even serious water damage if not addressed promptly. Whether it’s a small drip or a major leak, fixing a leaking bathtub is crucial to maintaining your home and preventing further damage. In this comprehensive guide, we’ll explore the different types of bathtub leaks, their common causes, and provide step-by-step instructions on how to fix a leaking bathtub. From DIY bathtub leak repair to knowing when to call in a professional, we’ve got you covered. 


1. Common Causes of Bathtub Leaks 

Understanding the common causes of bathtub leaks can help you quickly diagnose the issue and apply the right fix. Here are some typical reasons why your bathtub might be leaking: 

  • Faulty Faucet or Spout: A leaking bathtub faucet or spout is one of the most common causes of water wastage in homes. Worn-out washers or seals are often the culprits behind these leaks. 
  • Damaged Bathtub Drain: Over time, the seal around the bathtub drain can degrade, causing leaks around the drain area. 
  • Cracked Grout or Caulk: Grout or caulk around the edges of the bathtub can crack due to age, allowing water to seep through and cause leaks. 
  • Leaking Overflow Pipe: The overflow pipe, which prevents the tub from overflowing, can sometimes develop leaks due to a loose or damaged gasket. 
  • Leaking Pipes: Leaks can also occur in the plumbing pipes underneath the bathtub, which may require professional inspection and repair. 


2. Identifying the Source of the Leak 

Before you can fix a leaking bathtub, it’s essential to identify the source of the leak. Here are some steps to help you locate the problem: 

  • Inspect the Faucet and Spout: Check for any visible leaks around the faucet handles and spout. If you notice dripping or pooling water, the faucet or spout may be the issue. 
  • Examine the Drain and Overflow Pipe: Look for signs of water damage around the drain and overflow pipe. A wet spot or discoloration on the ceiling below the tub can indicate a leaking drain or overflow. 
  • Check the Grout and Caulk: Inspect the grout and caulk around the edges of the bathtub. If you see cracks or gaps, water may be leaking through these areas. 
  • Look Underneath the Bathtub: If possible, access the area beneath the bathtub to check for leaks in the plumbing pipes. This may involve removing a panel or ceiling below the tub. 


3. Step-by-Step Guide to Fix Bathtub Leak 

Once you’ve identified the source of the leak, follow these step-by-step instructions to fix the problem. 


How to Fix a Leaking Bathtub Faucet

  • Turn Off the Water Supply: Before you begin any repairs, turn off the water supply to the bathtub to prevent further leaks. 
  • Remove the Faucet Handle: Use a screwdriver to remove the screw securing the faucet handle. Gently pull the handle off the stem. 
  • Inspect the Washer and O-Ring: Check the washer and O-ring inside the faucet for signs of wear or damage. If they’re worn out, replace them with new ones. 
  • Reassemble the Faucet: Reattach the faucet handle and secure it with the screw. Turn the water supply back on and check for leaks. 


How to Repair a Leaking Bathtub Drain 

  • Remove the Drain Cover: Use a screwdriver to remove the screws holding the drain cover in place. Lift the cover off the drain. 
  • Inspect the Drain Gasket: Check the drain gasket for cracks or damage. If the gasket is worn out, replace it with a new one. 
  • Apply Plumber’s Putty: Apply a generous amount of plumber’s putty around the edge of the drain opening to create a watertight seal. 
  • Reinstall the Drain Cover: Place the drain cover back in position and secure it with screws. Allow the putty to set before using the bathtub. 


How to Fix a Bathtub Leaking from Overflow 

  • Remove the Overflow Cover: Unscrew the overflow cover using a screwdriver and remove it from the tub wall. 
  • Inspect the Overflow Gasket: Check the gasket behind the overflow cover for any cracks or signs of wear. Replace the gasket if necessary. 
  • Tighten the Overflow Assembly: Use a wrench to tighten the screws securing the overflow assembly to the tub. This will help prevent leaks around the overflow pipe. 
  • Reattach the Overflow Cover: Place the overflow cover back in position and secure it with screws. Test for leaks by filling the tub and letting the water reach the overflow. 


How to Repair Bathtub Grout Leaks 

  • Remove Damaged Grout: Use a grout removal tool to carefully remove any damaged or cracked grout from around the bathtub. 
  • Clean the Area: Clean the area thoroughly to remove any debris or old grout residue. This will help the new grout adhere properly. 
  • Apply New Grout: Mix the new grout according to the manufacturer’s instructions and apply it to the gaps using a grout float. Smooth the grout with a damp sponge. 
  • Seal the Grout: Once the grout has dried, apply a grout sealer to protect it from moisture and prevent future leaks. 


4. DIY Bathtub Leak Repair vs. Professional Help 

While many bathtub leaks can be fixed with DIY methods, some issues may require professional help. Here’s how to decide: 

  • DIY Bathtub Leak Repair: Simple leaks, such as a leaking faucet or cracked grout, can often be repaired with basic tools and materials. If you’re comfortable with DIY projects and have some plumbing knowledge, you can save money by fixing the leak yourself. 
  • Professional Help: If the leak is coming from underneath the bathtub or involves plumbing pipes, it’s best to call a professional plumber. They have the expertise and tools needed to diagnose and repair complex leaks, ensuring a long-lasting solution. 


5. Preventing Future Bathtub Leaks 

To avoid future bathtub leaks, follow these preventive measures: 

  • Regular Maintenance: Inspect your bathtub and plumbing fixtures regularly for signs of wear and tear. Replace worn-out washers, O-rings, and gaskets promptly. 
  • Seal Grout and Caulk: Reapply grout and caulk around the bathtub every few years to prevent water from seeping through cracks and causing leaks. 
  • Fix Leaks Immediately: Don’t ignore minor leaks, as they can worsen over time and lead to more significant damage. Address leaks as soon as you notice them. 
  • Use a Drain Cover: Install a drain cover to catch hair and debris, preventing clogs and reducing the risk of leaks around the drain. 


6. Frequently Asked Questions (FAQs) 

Q: What is the best sealant for bathtub leaks? 

A: Silicone sealant is one of the best options for sealing bathtub leaks due to its flexibility and resistance to water. 

Q: How much does it cost to repair a leaking bathtub? 

A: The cost to repair a leaking bathtub can vary depending on the extent of the damage and whether you hire a professional. On average, minor repairs can cost between $100 and $300, while more extensive repairs may cost $500 or more. 

Q: Can a leaking bathtub cause water damage? 

A: Yes, a leaking bathtub can cause significant water damage if not addressed promptly. Water can seep into walls, floors, and ceilings, leading to mold growth, structural damage, and costly repairs. 

Q: How do I know if my bathtub leak requires professional repair? 

A: If the leak is coming from underneath the bathtub, involves plumbing pipes, or persists despite your DIY efforts, it’s best to consult a professional plumber for an accurate diagnosis and repair. 

Q: How can I prevent my bathtub from leaking? 

A: Regular maintenance, prompt repairs, and proper sealing of grout and caulk can help prevent bathtub leaks. Additionally, avoid over-tightening fixtures and use drain covers to prevent clogs. 

By following this guide, you can effectively fix a leaking bathtub and prevent future leaks, ensuring your bathroom remains safe, dry, and free of water damage. Remember to regularly inspect and maintain your bathtub and plumbing fixtures to avoid costly repairs and keep your home in top condition. 

Recent Posts
August 20, 2026
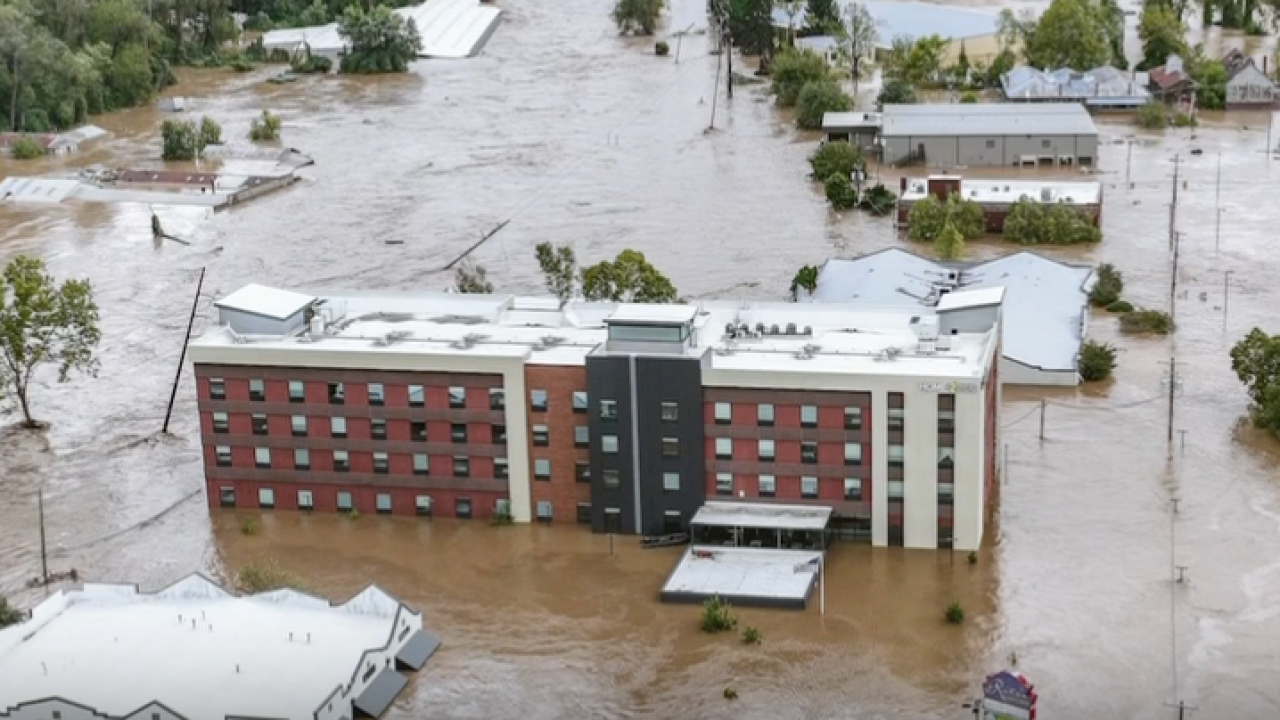
Water damage is one of the most common—and costly—property emergencies homeowners and business owners face. Whether it’s caused by a burst pipe, a leaking appliance, storm flooding, or a sewage backup, not all water damage is the same. Restoration professionals use two important systems to assess water damage: categories and classes. While these terms are often used interchangeably, they refer to two very different things. The category describes the level of contamination in the water, while the class describes the extent of the damage and how much water has been absorbed into the structure. Understanding the difference can help you better understand the restoration process and why certain jobs require more extensive cleanup than others. What Are the Categories of Water Damage? Water damage is divided into three categories based on the level of contamination and potential health risks. Category 1: Clean Water Category 1 water originates from a sanitary source and does not pose an immediate health risk. Common sources include: Broken water supply lines Overflowing sinks or bathtubs (without contaminants) Rainwater entering through a roof leak before contacting contaminants Appliance supply line leaks Although Category 1 water starts clean, it doesn’t stay that way forever. If left standing for too long, it can absorb dirt, bacteria, and other contaminants from building materials, eventually becoming Category 2 or even Category 3 water. The key takeaway: Even clean water should be addressed immediately to prevent structural damage and mold growth. Category 2: Gray Water Category 2 water contains contaminants that can cause illness or discomfort if ingested or exposed to the skin for extended periods. Common sources include: Washing machine overflows Dishwasher leaks Toilet overflows containing urine but no solid waste Sump pump failures Water from aquariums Gray water requires more careful handling than clean water because it may contain microorganisms, chemicals, or other contaminants. Professional drying, cleaning, and sanitizing are typically necessary to restore the affected area safely. Category 3: Black Water Category 3 water is highly contaminated and poses significant health risks. This type of water contains harmful bacteria, viruses, sewage, chemicals, or other hazardous materials. Common sources include: Sewage backups Toilet overflows containing solid waste River or creek flooding Hurricane or storm surge flooding Standing water that has become heavily contaminated Because black water can carry dangerous pathogens, affected materials often cannot be salvaged and may need to be removed and replaced. Restoration professionals use specialized protective equipment, containment procedures, and antimicrobial treatments to safely restore these environments. What Are the Classes of Water Damage? While the categories describe how contaminated the water is, the classes describe how much water is present and how difficult it will be to dry the structure. There are four classes of water damage. Class 1: Minimal Water Damage Class 1 is the least severe. Characteristics include: Small affected area Little moisture absorbed by materials Minimal evaporation required Easy and quick drying process Examples include a small leak that is discovered quickly before it spreads. Class 2: Significant Water Damage Class 2 involves water affecting an entire room or multiple structural materials. Typical signs include: Wet carpet and padding Moisture in drywall Water wicking up walls Greater amount of evaporation required Drying usually requires professional equipment such as air movers and commercial dehumidifiers. Class 3: Extensive Water Damage Class 3 is considered severe. In these situations: Water has saturated ceilings, walls, insulation, flooring, and contents. The majority of the affected area is wet. Materials have absorbed large amounts of moisture. These projects require aggressive drying techniques and often involve removing damaged materials to ensure the structure dries completely. Class 4: Specialty Drying Situations Class 4 water damage involves materials that are difficult to dry because they absorb moisture slowly. Examples include: Hardwood flooring Concrete Brick Stone Plaster Crawl spaces with dense building materials Specialized drying methods, extended drying times, and advanced moisture monitoring equipment are required to restore these materials properly. Why Fast Action Matters Regardless of the category or class, time is one of the biggest factors in determining how much damage occurs. Within the first 24 to 48 hours: Water continues spreading through porous materials. Drywall and insulation absorb moisture. Wood begins to swell and warp. Mold growth may begin. The longer water remains, the greater the chances of structural damage, mold growth, and increased restoration costs. Prompt mitigation can often save flooring, drywall, furniture, and personal belongings that might otherwise need to be replaced. Why Professional Water Damage Restoration Is Important Water damage isn’t always visible. Moisture can become trapped behind walls, beneath flooring, inside insulation, and within structural framing. Professional restoration companies use specialized equipment such as: Moisture meters Thermal imaging cameras Commercial-grade dehumidifiers High-powered air movers HEPA filtration equipment when needed These tools help ensure that moisture is completely removed, reducing the risk of hidden damage and future mold growth. Simply drying the visible surfaces is often not enough. Emergency Restoration Xperts Is Ready to Help Whether you’re dealing with a clean water leak, a flooded basement, or a sewage backup, every water loss deserves immediate attention. At Emergency Restoration Xperts, our experienced technicians quickly assess both the category and class of water damage to develop the safest and most effective restoration plan. From emergency water extraction and structural drying to cleaning, sanitizing, and rebuilding, we’re committed to restoring your property as efficiently as possible. If your home or business experiences water damage, don’t wait. The sooner restoration begins, the better the chances of minimizing damage, preventing mold growth, and returning your property to its pre-loss condition.  Need emergency water damage restoration? Contact Emergency Restora tion Xperts 24/7 to schedule an immediate response and let our team help you get back to normal.
August 20, 2026
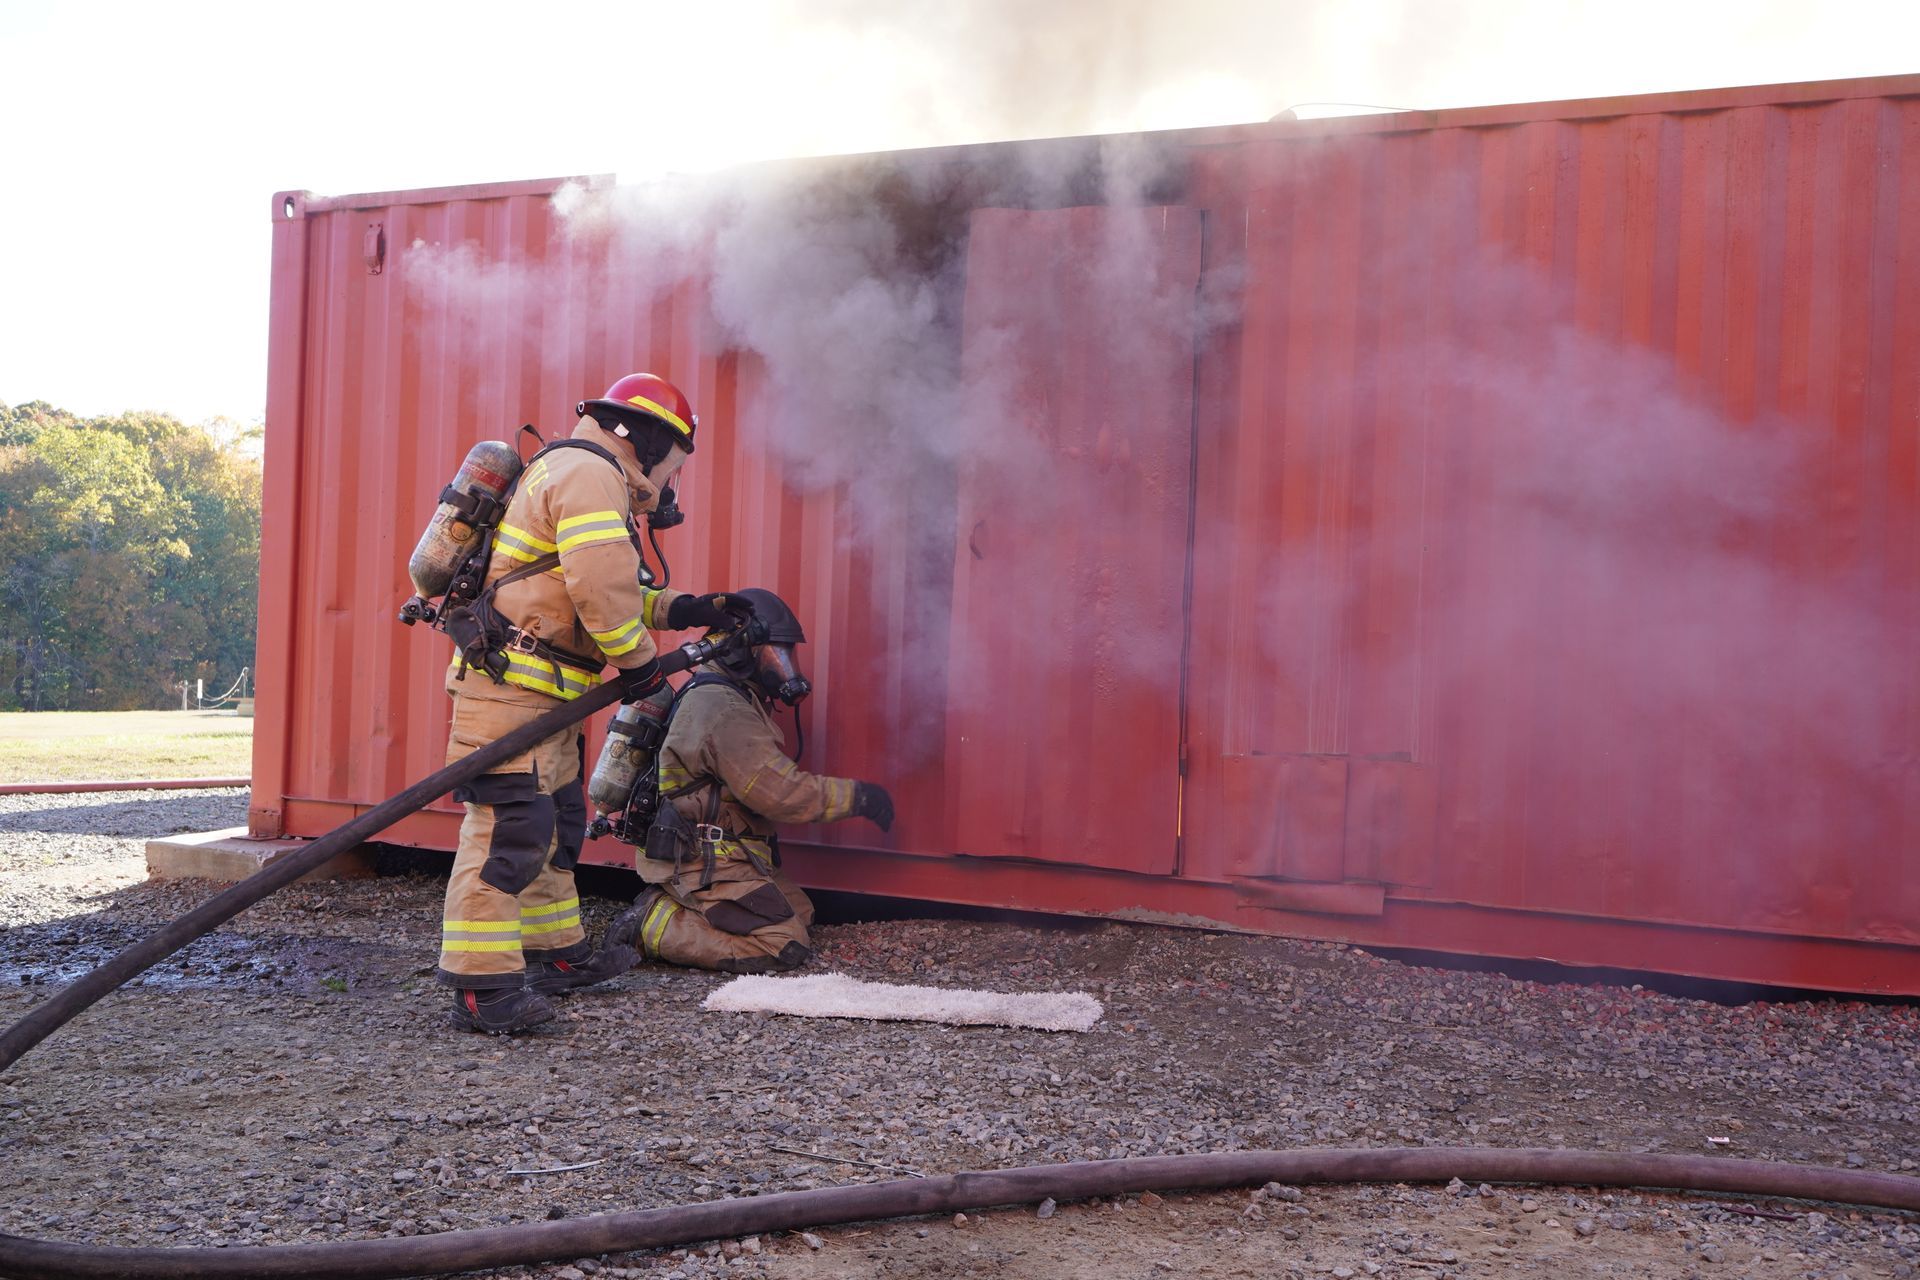
When the flames are out and the visible damage has been cleaned up, many homeowners expect the lingering smoke smell to fade with time. Lighting candles or using air freshener never really works and it is rarely the case the smell just “goes away”. If you’ve experienced a fire, whether it’s a small kitchen fire or a large structural fire, the smoke odor isn’t simply “stuck in the air.” It’s embedded deep within your home’s materials and contents. Without proper restoration, that smell can linger for months—or even years. Here’s why smoke odor doesn’t disappear on its own and why professional fire damage restoration is essential. Smoke Leaves Behind More Than Just a Smell During a fire, smoke is made up of microscopic particles, soot, oils, and gases that spread throughout the property. Because these particles are incredibly small, they can travel into areas that flames never reach. Smoke residue can settle on or penetrate: Drywall Wood framing Insulation Carpet and padding Upholstered furniture Curtains and fabrics Cabinets HVAC systems Electronics and personal belongings Even if these surfaces appear clean, smoke particles can remain trapped inside them, continuously releasing odors into your home. Why the Smell Keeps Coming Back Many homeowners notice that the smoke odor seems to improve after opening windows or using air fresheners. While this may temporarily reduce the smell, it doesn’t remove the source. Humidity, temperature changes, and everyday activities can reactivate smoke residue, causing the odor to become noticeable again. That’s because the particles responsible for the smell are still present inside building materials and furnishings. Simply masking the odor with candles, sprays, or air fresheners only covers it up temporarily. The underlying contamination remains. Smoke Damage Can Affect Your Indoor Air Quality Lingering smoke residue isn’t just unpleasant—it can also impact your indoor environment. Fine soot particles can circulate through your HVAC system, settling on clean surfaces or becoming airborne whenever your heating or cooling system runs. This can contribute to poor indoor air quality and continue spreading odors throughout your home. Professional restoration helps remove these contaminants, creating a cleaner and healthier living environment. Why DIY Cleaning Isn’t Enough After a fire, many people attempt to clean smoke damage using household cleaners or rented equipment. Unfortunately, smoke damage requires specialized knowledge and equipment. Improper cleaning can: Spread soot to unaffected areas Permanently stain surfaces Damage delicate materials Lock odors deeper into porous materials Miss hidden contamination inside walls, attics, or HVAC systems Every fire is different, and the type of smoke residue left behind depends on what burned. Different materials require different cleaning methods to prevent additional damage. How Professional Smoke Odor Removal Works At ERX, we use industry-approved techniques and equipment designed to remove smoke odors at their source—not just cover them up. Depending on the severity of the damage, our restoration process may include: Thorough Inspection We identify all affected areas, including hidden smoke damage that may not be immediately visible. Soot and Residue Removal Specialized cleaning products and techniques safely remove soot from walls, ceilings, flooring, and other surfaces. Deep Cleaning of Contents Furniture, textiles, and personal belongings are cleaned using restoration methods appropriate for each material. Air Filtration Commercial-grade HEPA air scrubbers capture microscopic airborne particles that standard household filters cannot. Advanced Odor Removal When appropriate, we use professional deodorization methods such as thermal fogging, hydroxyl generators, or ozone treatments to neutralize odor molecules at their source. HVAC Cleaning If smoke has entered your ventilation system, cleaning the ductwork helps prevent odors and contaminants from continuing to circulate throughout your home. The Longer You Wait, the Harder It Can Be Smoke residue becomes more difficult to remove the longer it remains on surfaces. Acidic soot can permanently stain materials, corrode metals, discolor finishes, and cause ongoing odors if left untreated. Acting quickly not only improves the chances of restoring your property but can also reduce repair costs and prevent further damage. Trust the Experts After a Fire Recovering after a fire is overwhelming, but you don’t have to handle it alone. Professional fire damage restoration is about more than removing the smell—it’s about restoring your home safely, thoroughly, and efficiently. At ERX, our experienced team has the training, equipment, and expertise to eliminate smoke odors, clean affected materials, and help return your property to pre-loss condition. If your home or business has experienced fire or smoke damage, contact ERX today. We’re available 24/7 to respond quickly and help you take the first step toward recovery.
August 20, 2026
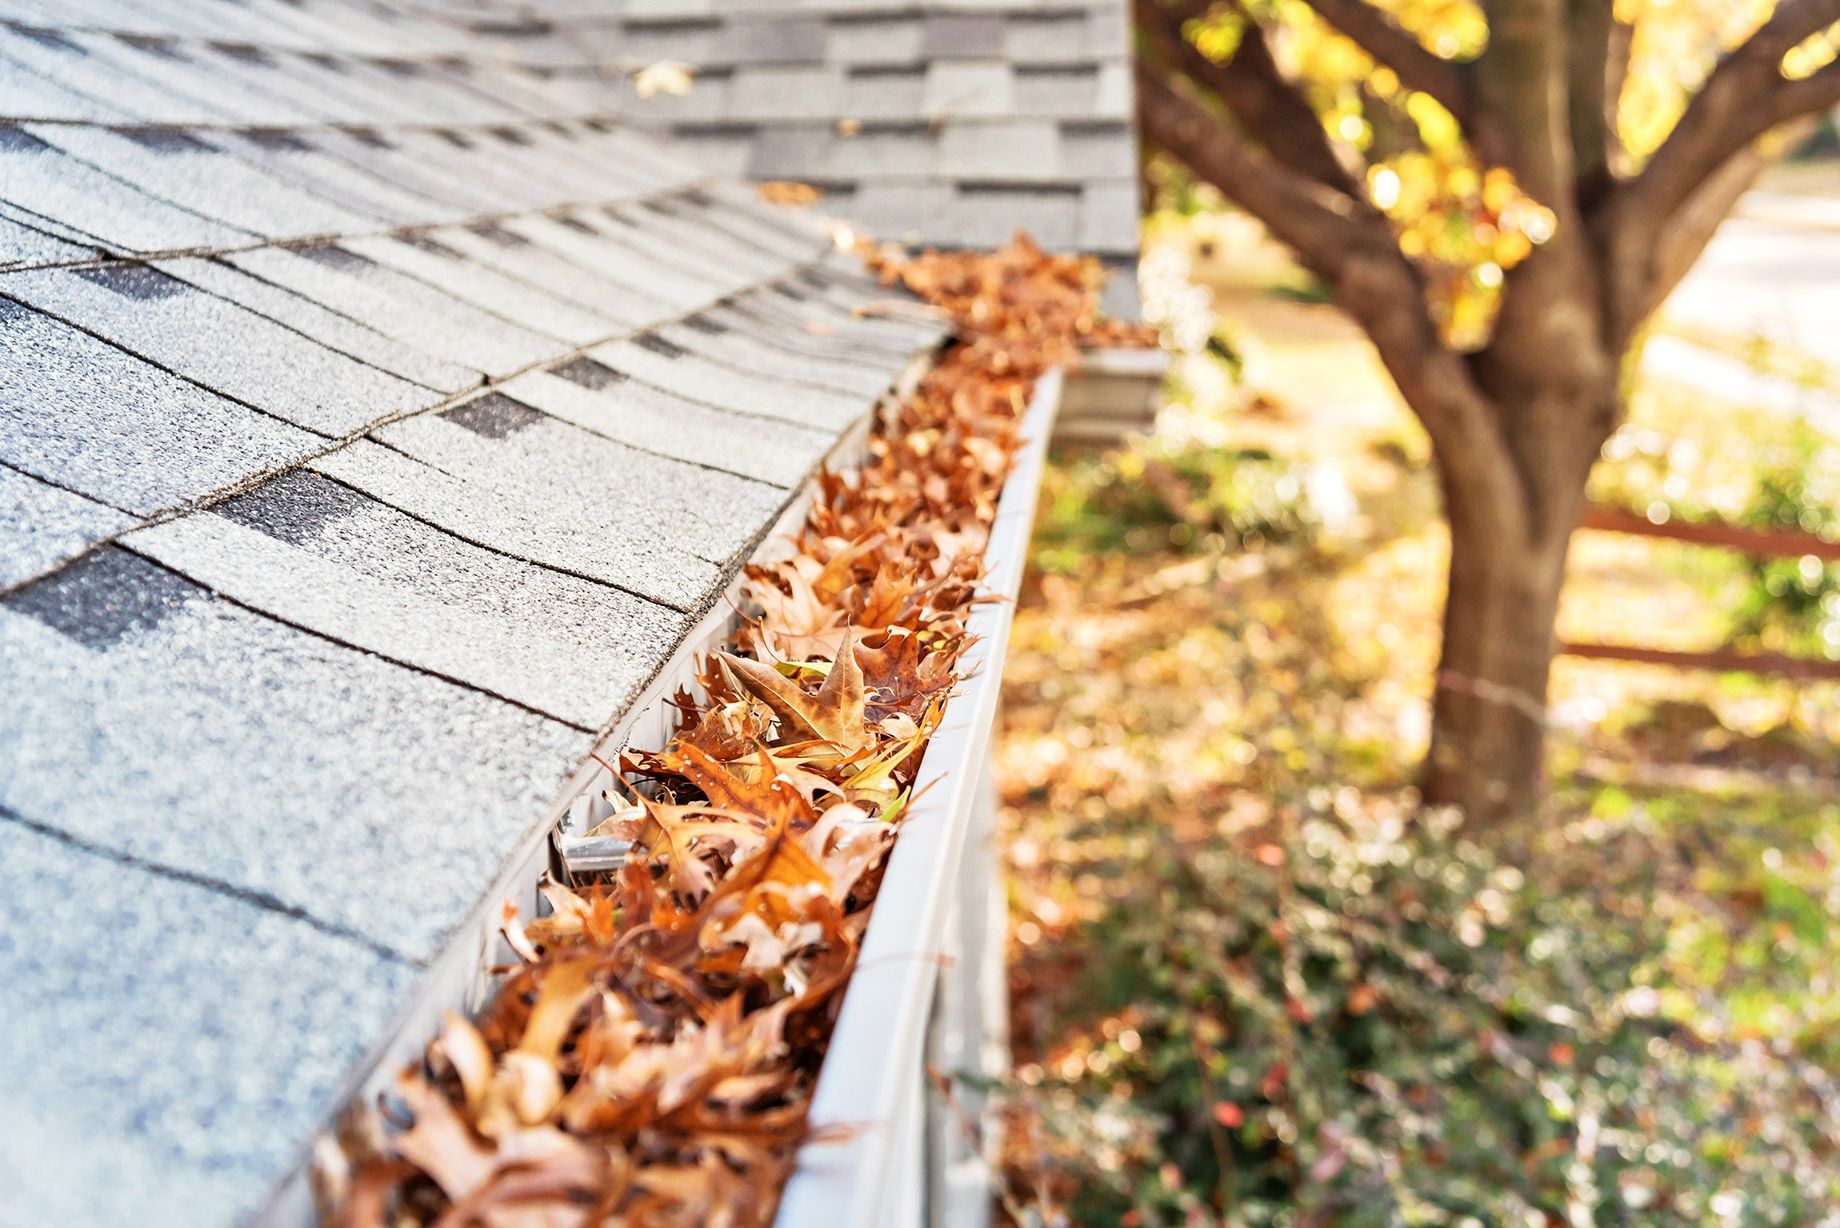
Summer brings longer days, vacations, and outdoor fun—but it also brings the potential for powerful thunderstorms, high winds, hail, heavy rain, and flash flooding. These storms can develop quickly and leave behind significant property damage if you’re not prepared. Going over these simple steps before severe weather strikes can help protect your family, minimize damage to your home, and make recovery much easier. Here’s what every homeowner should know. Before the Storm: Prepare Before Severe Weather Arrives The best time to prepare for a storm is long before one is in the forecast. Inspect Your Roof Loose or missing shingles can allow water to enter your home during heavy rain. Have your roof inspected regularly and repair any damage before storm season. Clean Gutters and Downspouts Clogged gutters prevent rainwater from flowing away from your home, increasing the risk of roof leaks, foundation issues, and basement flooding. Trim Trees and Remove Dead Branches Overhanging limbs can snap during high winds and damage your roof, vehicles, or power lines. Secure Outdoor Items Patio furniture, grills, umbrellas, trampolines, and other outdoor items can become dangerous projectiles during strong winds. Secure or store them when storms are expected. Assemble an Emergency Kit Your emergency kit should include: Flashlights and extra batteries Bottled water Non-perishable food First aid supplies Cell phone chargers and portable power banks Prescription medications Important documents stored in a waterproof container Review Your Insurance Coverage Know what your homeowner’s insurance covers before disaster strikes. Take photos or videos of your home’s condition and valuable belongings for documentation. During the Storm: Stay Safe When severe weather arrives, your priority should always be protecting yourself and your family. Stay Indoors Remain inside and stay away from windows, glass doors, and skylights. Flying debris and hail can cause serious injuries. Monitor Weather Alerts Keep a battery-powered weather radio or use a trusted weather app to stay informed about watches, warnings, and emergency updates. Avoid Floodwaters Never walk or drive through flooded roads. Just a few inches of moving water can knock someone down or sweep away a vehicle. Unplug Sensitive Electronics If it’s safe to do so before the storm intensifies, unplug computers, televisions, and other electronics to help protect them from power surges. Have a Safe Shelter Plan If tornado warnings are issued, move to the lowest level of your home and stay in an interior room away from windows. After the Storm: Assess Damage Safely Once the storm has passed, use caution while inspecting your property. Check for Hazards First Look for downed power lines, gas leaks, damaged electrical systems, and unstable trees. Never approach fallen utility lines. Document Any Damage Take clear photos and videos of all visible damage before making temporary repairs. This documentation can help with your insurance claim. Prevent Further Damage If it is safe, place tarps over damaged roofs or board up broken windows to keep additional rain from entering your home. Watch for Water Damage Even small leaks can quickly lead to mold growth if moisture isn’t removed promptly. Check ceilings, walls, flooring, attics, and crawl spaces for signs of water intrusion. Contact Restoration Professionals Quickly Water damage begins affecting building materials almost immediately. The sooner drying and mitigation begin, the better the chances of preventing mold growth and reducing repair costs. Common Signs Your Home May Have Storm Damage Even if everything appears normal from the ground, hidden damage can develop after severe weather. Watch for: Water stains on ceilings or walls Missing or damaged shingles Leaking roof or attic Wet carpet or flooring Musty odors Cracked siding or broken windows Fallen tree limbs on the roof Standing water around your home’s foundation If you notice any of these issues, it’s important to have your property inspected as soon as possible. Be Prepared Before the Next Storm Summer storms are unpredictable, but preparation can make all the difference. By taking preventive steps before severe weather, staying safe during the storm, and acting quickly afterward, you can help protect your home and reduce the risk of costly damage. If your property experiences storm, wind, or water damage, don’t wait. Quick action can prevent additional damage and help restore your home faster. Having a trusted restoration company ready to respond gives you peace of mind when severe weather strikes.